

How to Build a Treehouse
Published
Building a treehouse is a fun and time-consuming process—especially if you’ve never built one before. They come in all shapes and sizes, from small tree forts to giant luxury hideaways.
In this post, I’ll show you how to build one type of simple backyard treehouse, but I’ll offer plenty of resources along the way for those of you with more ambitious plans.

Source: M S
No matter what kind of treehouse you want, safety is your first priority. If you’re not confident with your building skills or you want an elaborate design, consult a professional treehouse builder, such as Nelson Treehouse and Supply in Washington State.
Here’s your list of supplies:
- Pencil and paper
- Drill
- Nails
- Four 2×10 boards
- Six 2×6 boards
- 2×4 boards to use as rails around the treehouse
- Several 2-foot-long pieces of 2×4
- Garnier limbs and metal brackets
- Garnier limb standard knee braces
- Deck screws — at least 3” and 2.5”
- Eight galvanized rafter ties
- Exterior plywood sheets or wood planks
- Roof (optional)
- Wood stain and/or paint (optional)
Let’s get started.
Step 1: Pick a Tree
You’ll Need:
- A sturdy, healthy tree whose branches separate from the trunk in a V shape
(If you don’t have a suitable tree, find out how you can build a freestanding “treehouse” here.)
Your tree should be at least 12 inches in diameter around the trunk. Oak, beech, maple, ash, cedar, hemlock, and firs are all good choices.

Source: fletcherjcm
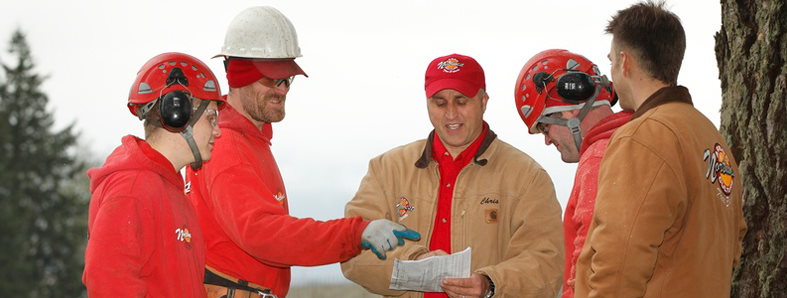
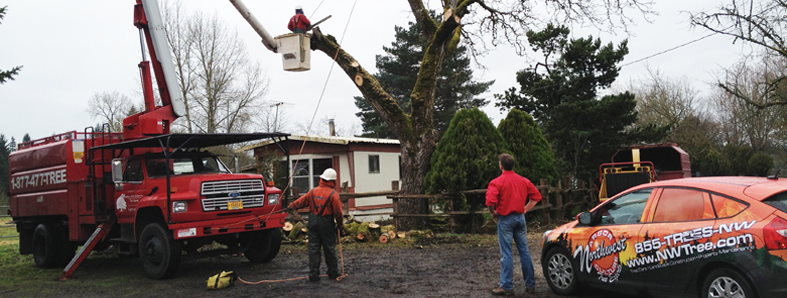
Have an arborist come out to make sure your tree is safe. Don’t hesitate to call us if you have questions about the safety of any of your trees.
Step 2: Plan Your Treehouse
 You’ll Need:
- Cardboard and duct tape or a pencil and paper
Every treehouse is different because every tree is unique. Examine your tree for quirks, like a strangely shaped trunk or oddly positioned branches, and plan around them.
Then make a detailed sketch or cardboard prototype of your treehouse. Be sure to include measurements.
You can borrow one of these free treehouse plans or even design your own. And these fun and crazy ideas are sure to spark your creativity.
Step 3: Build a Platform
You’ll Need:
- Two 2×10 boards
- Six 2×6 boards
- Nails
- A drill
- Four Garnier limbs and four metal brackets
- Deck screws (at least 3”)
- Eight galvanized rafter ties
You want to make your platform strong, level, and not higher than 5 or 6 feet off the ground if kids will be using it.
If this is you first treehouse, WikiHow has good step-by-step instructions on this part. (Note that you’ll be using Garnier limbs, a type of treehouse attachment bolt, instead of the galvanized lag screws they suggest.) For now, I’ll give you a quick explanation.
First, place the 2x10s parallel to each other on either side of the two branches that separate into a V shape, but don’t attach them yet. This is just to help you mark where you want the Garnier limbs, which will be your main support.
Pre-drill into the tree, and then install the Garnier limbs. Find more detailed information on how to safely insert them here.
Now use the metal brackets and screws to attach the 2x10s to each of the Garnier limbs.

Source: Michael Garnier
Second, place the 2x6s over the 2x10s like this:

Source: WikiHow
Finally, use deck screws to attach the 2x6s to the 2x10s. Nail the 2x6s together. Then use the rafter ties to secure the platform, like this:

Source: WikiHow
This method works great for most people, but every tree is different. To be completely sure your treehouse is safe, ask an engineer to take a look at your plan, and read up on treehouse support safety here.
Step 4: Brace the Platform
You’ll Need:
- At least two strong boards (The number and length will depend on the size and shape of your tree and platform.)
- Nails
- Garnier limb standard knee braces
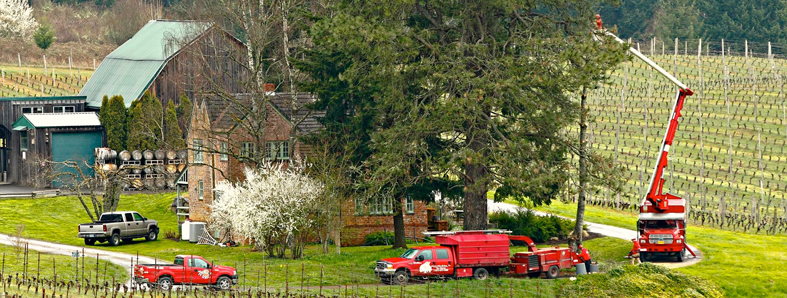
Nail the boards to the platform and use Garnier limb standard knee braces to attach them to the tree, like Nelson Treehouse and Supply did with this bold structure.

Source: Nelson Treehouse and Supply
Important: Depending on the strength of your materials and the weight of your treehouse, you may need to add extra support beams in the ground. I recommend consulting a contractor or professional builder unless you’re absolutely sure.
Step 5: Lay the Floor
You’ll Need:
- Exterior plywood sheets or wood planks
- Deck screws (at least 3”)

Source: Danny Sullivan
Use screws to attach the floor to the platform. You may have to do some cutting and sanding to make sure your floor fits nicely around branches.
Step 6: Attach Handrails
You’ll Need:
- Enough 2×4 boards to build rails around the entire treehouse except the entrance
- Nails
- Screws (at least 3”)
You’ll want at least two 2x4s standing vertically in each corner of your treehouse. Screw them to the platform. Use nails to attach the rest of the 2x4s horizontally across the top.

Source: Wesley Fryer
Fill the space between handrails and the platform to stop small treehouse dwellers from falling out. You can use boards, mesh, or plywood sheets.
If you want to build walls instead of just handrails, get some tips from this family.
Step 7: Build Your Access Ladder
You’ll Need:
- Several 2-foot long pieces of 2×4
- Two long 2x4s
- Screws (2.5”)
eHow has great instructions on building a treehouse ladder. Here’s what they suggest:
Find an open space to lay the long 2x4s on the ground parallel to each other.
Start at the base by placing a 2-foot board between them at least six inches from the bottom. Drive three screws through each long 2×4 and into the ends of the 2-foot board. Make sure the small boards will be level and easy to step on when the ladder stands up.
Repeat the same process at the top, again placing the 2-foot board six inches down. Add the rest the same way, making sure they are evenly spaced.
For fun, you could also install a rope ladder, fireman’s pole, zip-line, or stairs.
Step 8: Make it Your Own
Now let’s make this treehouse feel like home.
Stain or paint the wood, add a simple roof, or have your family carve their initials into the handrails. Whatever you want! If you live in a damp area, also think about waterproofing your treehouse.
No matter what kind of treehouse you build, have fun and be safe. And share your fond treehouse memories in the comments!
For advice about whether your tree is strong enough, or any other tree questions, call our Certified Arborists at 503-538-8733.
Photo source: Shawn Campbell
blog comments powered by Disqus